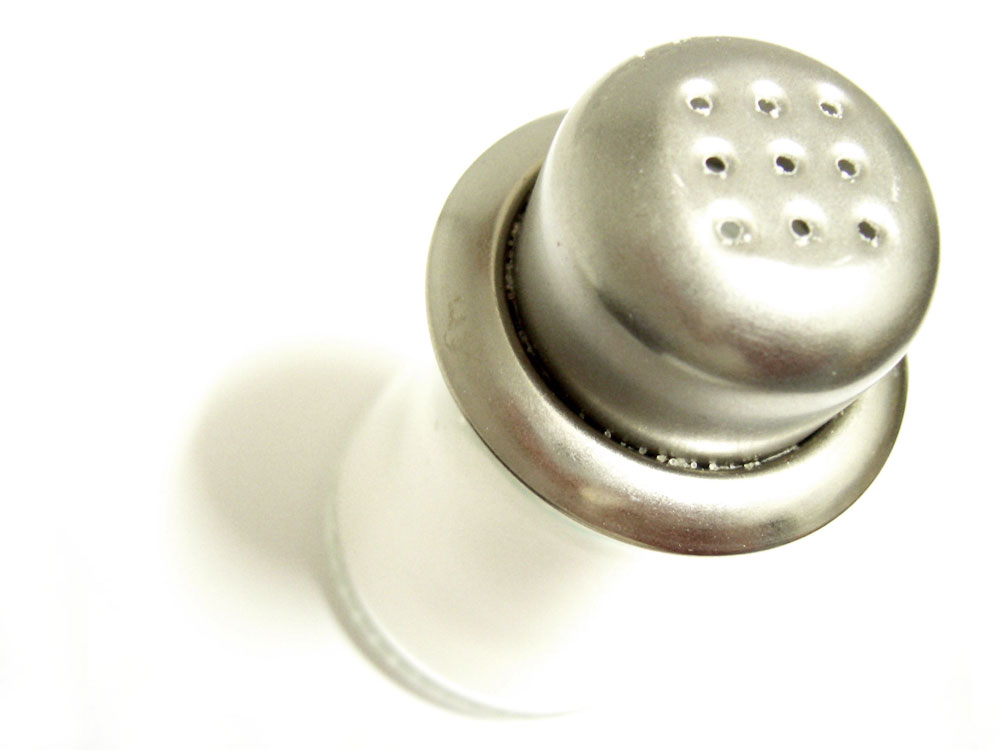
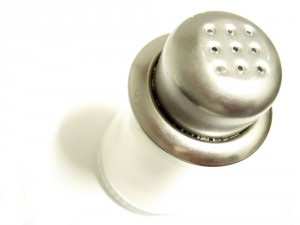
 Sea salt vs. table salt: which do you choose? They are two of the most common salts used in your home kitchen (other than kosher salt). Both salts have the same nutritional value. You can argue about the differences in the minerals and iodine, etc. but in the end, they’re both sodium chloride crystals. Good ol’ NaCl.
Continue Reading
How to Deglaze Your Pans + Recipe
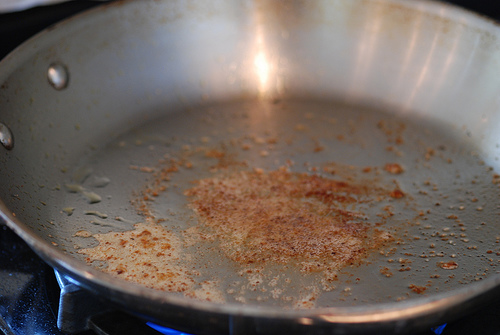
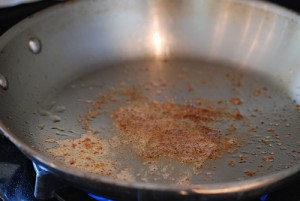 Deglazing a pan is the key to making delicious sauces and gravies for your meats and vegetables. After cooking meat or vegetables instead of scrapping all the leftover fat and dregs into a grease jar, make it into a divine sauce. Deglazing a pan is simply adding stock, lime juice, water, or some other liquid to break up and dissolve the dregs left over from sauteing, searing, or roasting. I especially like to deglaze my cast iron pans, as it helps the cast iron’s flavor–not that I eat cast iron or anything.
If you haven’t deglazed your pans before, now’s a good time to get started. You’ll be surprised how well you can get the junk off your pan when doing so ad also the delicious sauces you can make. So for starters, here’s how to deglaze your pots and pans and make a delicious sauce.
Continue Reading
How to Blacken Chicken or Fish
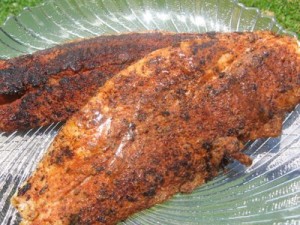 Blackening chicken and fish can be a lot of fun, especially if you like smoke and flames (read the helpful tips below). Most of the time you hear of blackened chicken, blackened salmon, and blackened catfish. That’s because they’re a tender meat that will still hold together under the intense blackening process. You can blacken other meats as well, but you’ll want to be sure they’re thinly sliced.
Tips
Before we get started on the actual process, here are a few tips to achieve the best blackening results.
- Use a cast iron skillet. These truly are the best for blackening. They can stand the intense prolonged heat and provide excellent flavor for your chicken or fish, whereas other pans may warp. If you don’t have a cast iron skillet and still want to blacken your meat, do not use a non-stick pan, instead use a thick-bottomed pan meant for higher heats.
- Keep your food cool before blackening. Butter and oils will stick better to a cool piece of chicken and fish.
- Open all your windows and turn on the fans. Blackening food creates a lot of smoke and sometimes some flames.
- Keep your filets around 1/2″ thick. If they’re any thicker they may not cook all the way through.
- Make sure you use a thick oven mitt or thick hot pads because your pan is going to get really hot.
Method
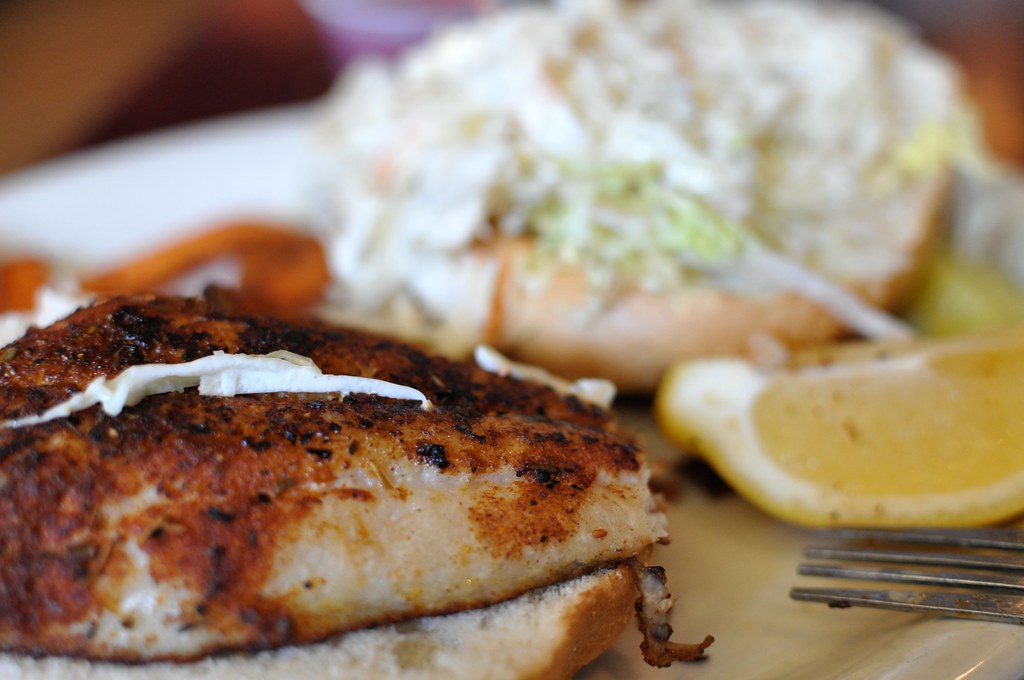 (“Blackened Catfish Sandwich” by Mark H. Anbinder)
To make blackened chicken or blackened fish
- Heat your cast-iron skillet to a high temperature.
- Meanwhile, create a butter & spice mixture. Melt enough butter (use a microwave-safe pie plate) to coat all the meat your making on both sides, and then a few tablespoons extra to spare. Add your favorite chicken or fish spices to the butter and mix it up well. The blackening is caused by the butter charring in the pan, and the spices will add to the flavor. Cajun spices are the most popular for blackening. You can also buy a blackening seasoning from the grocery store. Don’t use fresh herbs, they instantly burn and turn bitter.
- Pat your chicken or fish dry to help your butter and spice mixture stick to the meat better.
- Dip the meat into your melted butter and spice mixture. At this point, you can add a little extra spices to your meat, but don’t set it down, because you’ll remove the butter from the meat.
- Place the meat in the pre-heated HOT cast iron skillet. Be prepared for a lot of smoke and maybe some flames.
- This step is optional: Immediately after laying your meat in the skillet, spoon another tablespoon of your butter and spice mixture over the fish. Be prepared for a billowing pillar of smoke and possible flames.
- Allow the meat to cook for about 3 minutes (depends on how thick it is), then flip it over (add another tablespoon of butter if you want) and cook it for another three minutes.
- When the food is done cooking, you can add additional spices or lime (or lemon) juice if you wish. As a suggestion, also try adding lime juice to your butter and spice mixture.
With a little bit of practice and a smokey house later, you’ll be a pro at cooking your own blackened chicken, blackened salmon, and blackened catfish.
How to Sauté Meats and Vegetables
Let’s begin with some trivia. The word “Sauté”, as you can probably guess, is French. It’s derived from the French word sauter which means to jump. It refers to the food flipping in the pan by giving the pan a quick shake. I expect you to have this technique mastered by the end of next week.
Sautéing food is a simple technique that you can’t do without. You can cook dozens of meats and vegetables by sautéing them. To sauté is simply to cook food in a small amount of oil or fat in over fairly high heat in a short amount of time, usually in a shallow sauté pan. Don’t confuse this with searing. Searing is meant to brown only the outside of the meat, whereas sautéing cooks the inside of the meat. Because most stovetops are different, I recommend beginning at a medium-high heat and adjust the temperature from there.
To properly sauté your food
- Preheat your pan before adding anything. Preheating your pan first helps the heat to disperse more evenly and keeps any oils or fats from burning on a hot spot.
- Make sure the surface of your meats or vegetables are dry; you don’t want to steam or stew your dish accidentally.
- Add your oil or fat. You can use butter, but it has a lower burning point and may burn early. If you do use butter, make sure the butter bubbles in the pan before adding your food. I would recommend sautéing with a higher smoking point oil, like olive oil or canola oil.
- Your meats should sizzle (I love that word) when they first touch the pan. Once again, don’t get your pan too hot because you don’t want to sear your food.
- When sautéing meats, don’t break the surface of the meat with a knife or fork, because that lets the moisture escape. The overall goal of sautéing is to quickly cook your food without letting too much moisture out. When you need to flip the meat, use a spatula or tongs instead.
- When sautéing vegetables, start sautéing the hardest vegetables first. Add the softer vegetables in later so that they can be done at the same time. You may want to consider blanching or steaming some harder vegetables before sautéing them (e.g. carrots and cauliflower).
- Add salt towards the end. Salt sucks out moisture from the meats and vegetables. This seems to have a bigger affect on you sautéd vegetables, and especially sautéd mushrooms.
- Don’t stir or flip the food in your pan too often as it lengthens the sautéing process.
Note that for best results when sautéing meats, use a tender cut such as tenderloin, filet mignon, or pork chops.
Do you have any great sautéing tips or stories? Share them in the comments below.
To Roast or to Braise That is the Question
This post tackles another couple terms that are often confused: roast and braise. I’m focusing on meat, though coffee and chocolates also fit in the roasting category. Most of the time you’ll hear of people roasting meats instead of braising them, but every once in a while you hear the word ‘braise’ come up, and your brain shifts into librarian mode, sifting through the different inner-recess indices, “I’ve heard that word before… braise… now what is that?” Instead of digging around for that old file, let’s create a new one (honestly, both of these terms deserve their own entries).
To Roast…
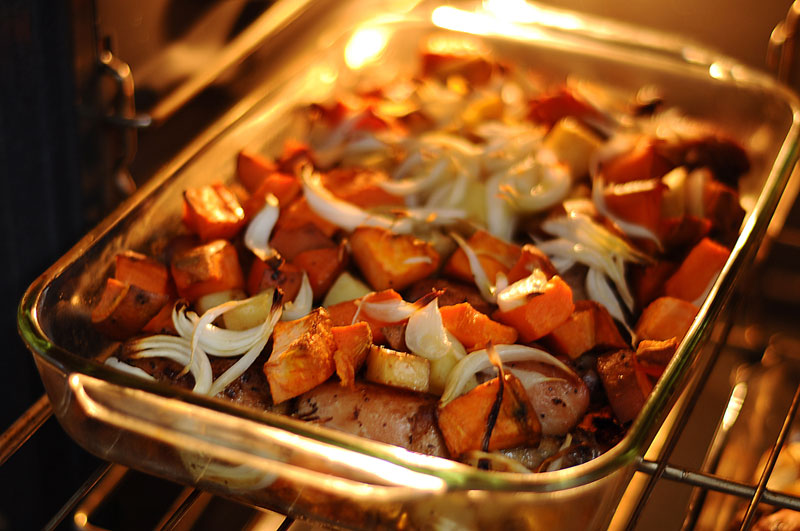
Roasting is cooking with dry heat, and usually in the oven, though the oven is not required. You can also roast something on a spit over the fire, or surround the food with hot embers, stones, or sand. The primary concept of roasting is dry heat, in other words, no liquid added.
The best roasting occurs with larger, tender meat cuts or poultry because they’re relatively moist. Some popular types of roasts are chicken roast, chuck roast, roast pork loin, sirloin tip roast, bottom round roast, and top round roast. These are often accompanied by potatoes, onions, and carrots (most root and bulb vegetables can be roasted). Tougher meats require moist cooking methods like braising. Keep in mind that when oven roasting, the pan is left uncovered which causes the meat to nicely brown (often caramelizes the meat’s surface) on the outside and stay moist on the inside. Anytime you cook meat (or vegetables) via the roasting method, the dish is referred to as “roast,” for example, roast turkey or roasted potatoes. As a side note, if you’re roasting vegetables, I would advise basting the vegetables with a butter or oil marinade to prevent them from losing too much moisture.
You can roast meat on any temperature, but the higher the temperature, the quicker the moisture escapes the meat. For larger meats, keep the oven temperature low (~275 degrees F) so that the meat will stay tender and cook all the way through. For small meat cuts, roasting at a high temperature can be beneficial so that the meat cooks without losing all its moisture.
Before roasting meat, I like to season it with salt and pepper (and sometimes other seasonings) and then brown it in a frying pan with oil. This gives the meat extra flavor and gives it a nice, traditional brown color when it’s done being roasted.
…or to Braise
Braising is cooking with a combination of moist and dry heat in a covered pot. This works best for tough meats because the added moisture helps break down the tough connective tissues and collagen in the meat. Often people like to add vegetables and other ingredients when braising meats because the ingredients interact and create a delicious, flavorful meal. (I particularly like onions in mine.)
The key to braising is adding the right amount of liquid so that the moisture and heat continue working together to tenderize the meat. I typically add 1-1/2″ liquid in the bottom of the pan. The liquid from the meats and vegetables contribute liquid volume as the meal cooks. For best flavoring, use liquids that contribute to the meat’s flavor, such as Worcestershire sauce, broths, or tomato juice. Because braising is a mixture of temperature, time, moisture, you’ll achieve the best results by cooking your meat for longer periods of time (the liquid should remain at a simmer throughout the braising process) and at a low to mid temperature (325-375 degrees F). As with roasting, I like to season and sear my meats before braising them. This is almost always done when braising.
You know your meat is cooked when it easily separates with just a fork. After the meat is cooked, you can use the leftover liquid as a gravy or sauce for your meats and vegetables. (Hint, the less liquid you use while braising your meat, the more intensely flavored the leftover liquid will be.)
—-
Do you have a favorite roasting or braising recipe? Or do you have any additional advice? Please share it in the comments below.
The Brown Russet Potato vs. The Red Potato
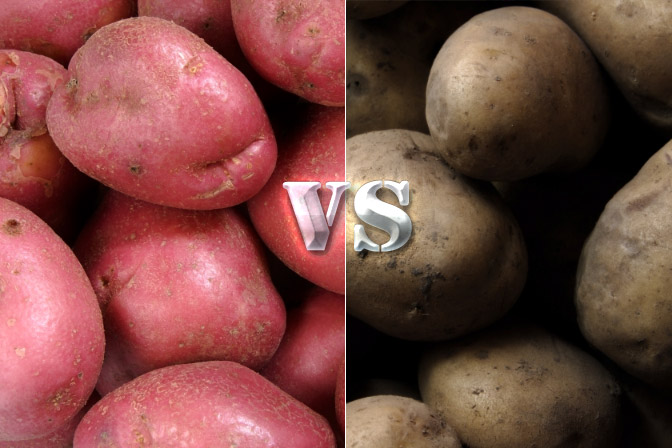
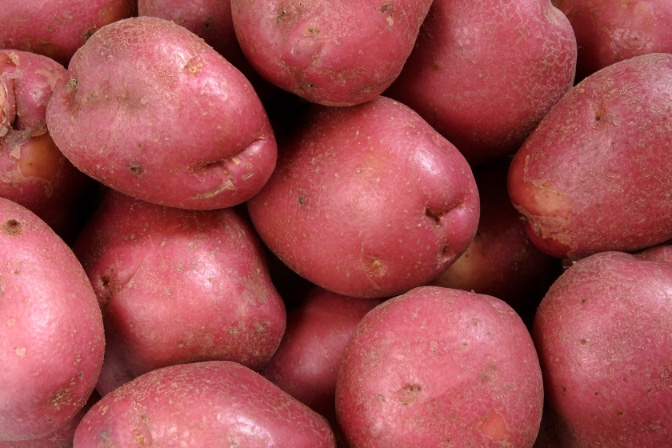
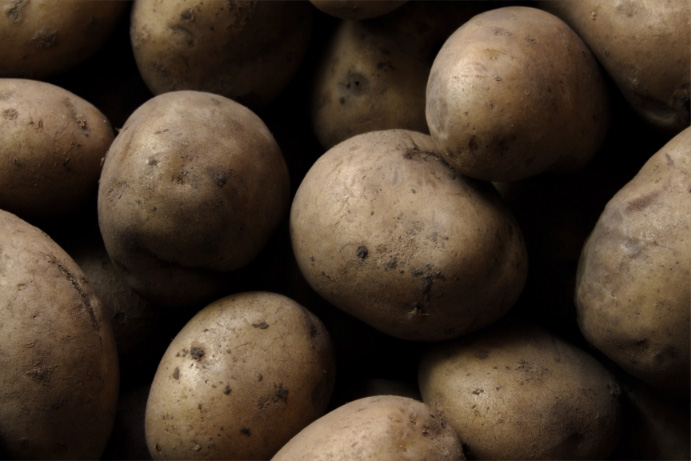
Although there are numerous potato variations out there, this post compares the two most popular: the red and the russet (or brown) potato. Of course both types have their advantages over the other, but in the end they’re both still just good ol’ tasty spuds. They both will bake, fry, mash, roast, steam, and eventually be eaten. In other words, don’t lose sleep tonight wondering if you purchased the right ones. But if you are losing sleep over it (really?), maybe this little guide can be your Tylenol PM.
Red Potatoes
These tasty spuds…
Russet Potatoes (The Brown Ones)
These multi-purpose spuds…
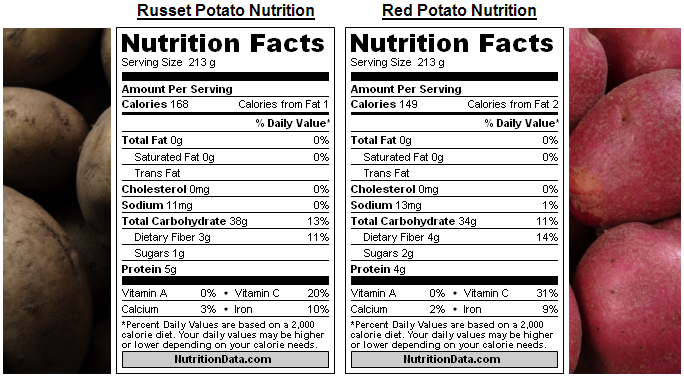
Nutritional Data
For Both Types
Did you have a question or comment about russet or red potatos that was not answered in this post? Please write me (click here) or add them to the comments section below and I’ll do my best to respond within 24-hours, or update my post to include the answer to your question. Thanks!
The Difference between Mince and Chop
If you’re unfamiliar with cooking terminology, you may find that understanding recipe directions can be challenging. The difference between mince and chop, for example, has frustrated many beginning cooks. Although related, mincing or chopping an ingredient can make or break a dish.
What does ‘mince’ mean?
Mince is simply a cook’s way to say, “cut your food ingredient into very small, fine pieces.” Minced foods are cut much smaller than chopped foods. Mince ingredients when you want to them to closely bond with the other ingredients in the dish, adding more flavor than chewable substance. In fact, mincing is often used with flavoring ingredients such as fresh herbs, garlic, ginger, and celery because it more evenly distributes flavor. Mince meat tarts and cookies, pâtés, sauces, and gravies are common recipes that require minced ingredients. Using a rocking knife or another curved blade knife can make mincing ingredients effortless.
What does ‘chop’ mean?
Chopping food is cutting your ingredients into bite-size or smaller pieces. Many food recipes clarify what size is needed for the dish. If all else fails, 1/2″ pieces tend to work well in almost all dishes. Although I prefer using a knife for most small meals, when I’m required to chop large amounts of food, I use a food processor such as the Bosch Food Processor.
Chop chop!
This is the first post in an article series relating to often confused cooking terms. Would you like a cooking term clarified? Let me know in the comments below.
5 Ways to Switch Up Your Sandwich Lunch Routine
Do you bring a PBJ to work everyday as lunch? If you’re not a fan of making meals every day, try some of these sandwich ideas to change up the Peanut Butter and Jelly routine.
1. Make a sandwhich melt. Oven broilers are great for making sandwhich melts, and this works for almost any type of sandwhich. Spread the desired dressings on your sandwhich bread (mayonnaise, salad dressing, italian dressing, etc.), and then place them on a cookie sheet. On one slice of bread, place your meats, and on the other slice of bread, place your cheese. Turn the oven on broil, place the cookie sheet on the center rack, and keep a close eye on your breads and cheese so they don’t burn. When the desired ‘toastiness’ has been reached, remove the sandwhich from the oven, put any other toppings on it, and enjoy! (This works in little toaster ovens in office break rooms too.)
2. Switch up the PBJ with a bagel sandwich. Bagels taste great with all toppings.
3. Eggs are quick to fry up. In the morning, pull out the frying pan, start frying the eggs (make sure yoke is not runny), just before the eggs are done, add cheese to the top to melt it. Fried egg sandwhiches also taste great with sandwhich meats.
4. Instead of a peanut butter and jelly sandwhich, try a sandwhich made from the chicken of the sea: tuna fish. You can add almost anything to your tuna fish sandwhich mixture including pickles or relish, shredded cheese, celery, egg, or nuts. Combine this idea with idea number 1 and you could have a tuna melt.
5. If you work in an office, consider purchasing a $10 sandwhich maker to store by your desk. Sandwich makers are the king of quick and easy grilled cheese sandwhiches, egg sandwhiches, and more.
Do you have a sandwhich idea that isn’t listed? Please, leave it in the comments below.
Cooking Basics: Some Down-Home Advice
If standing in front of a hot stove, using a big sharp knife, or mixing ingredients together intimidates you, don’t worry. You’re not alone. Something a lot of us take for granted is that we had to start somewhere: even famous chef celebrities had to learn cooking basics at one point or another. And believe me, even they’ve had kitchen disasters, cut fingers, and heat blisters.
I was lucky enough to grow up in a farming community where everyone grew their own seasonal produce and butchered their own meat. My parents and grandparents grew huge gardens full of lettuce, potatoes, raspberries, strawberries, onions, cabbage, *take a deep breath*, carrots, radishes, peas, beans and more. Hopefully you read that fast, because we’re just getting started… just kidding, you get the point—big gardens. It was a lot of work every year, and as kids of course we complained about it. But the eating was good. So, so good.Continue Reading
How to Freeze Onions
Here’s a quick answer for you: yes, you can freeze onions. Read on to learn how.
Onions make a great addition to many foods. Sometimes though, you’re in a hurry to add some flavor to a soup or meatloaf, and don’t have a lot of extra time. Other times you may find yourself with an onion surplus through either your garden or accidentally purchasing too many at the grocery store. That’s where frozen onions come in handy.Continue Reading
