Alright! I’m finally posting my ninja birthday cake. For my birthday this year I was feeling a bit adventurous, wanting to deviate from the normal simple birthday cake and try something new and creative. I started searching the web for creative birthday cakes and came across a number of ‘mad hatter’ cakes (the kind that look lopsided as the cake ascends), but decided I didn’t have enough time to do that between my full-time job and only three days left before my birthday. Amidst this searching, the idea struck me to create a ninja cake. I drew out some ideas on a paper and finally decided on a simple double-layered chocolate cake with buttercream icing and marshmallow fondant. This was my first time working with fondant, and I found it rather enjoyable. I’ll share some lessons I learned when working with it a bit later.
Making the Marshmallow Fondant
I found an excellent Marshmallow Fondant recipe posted on Peggy Weaver’s Baking Corner. One of the reasons I chose this recipe is that it had detailed instructions and tips of how she makes the fondant work for her. So, here I am doing that fondant thang:
Ingredients
Method
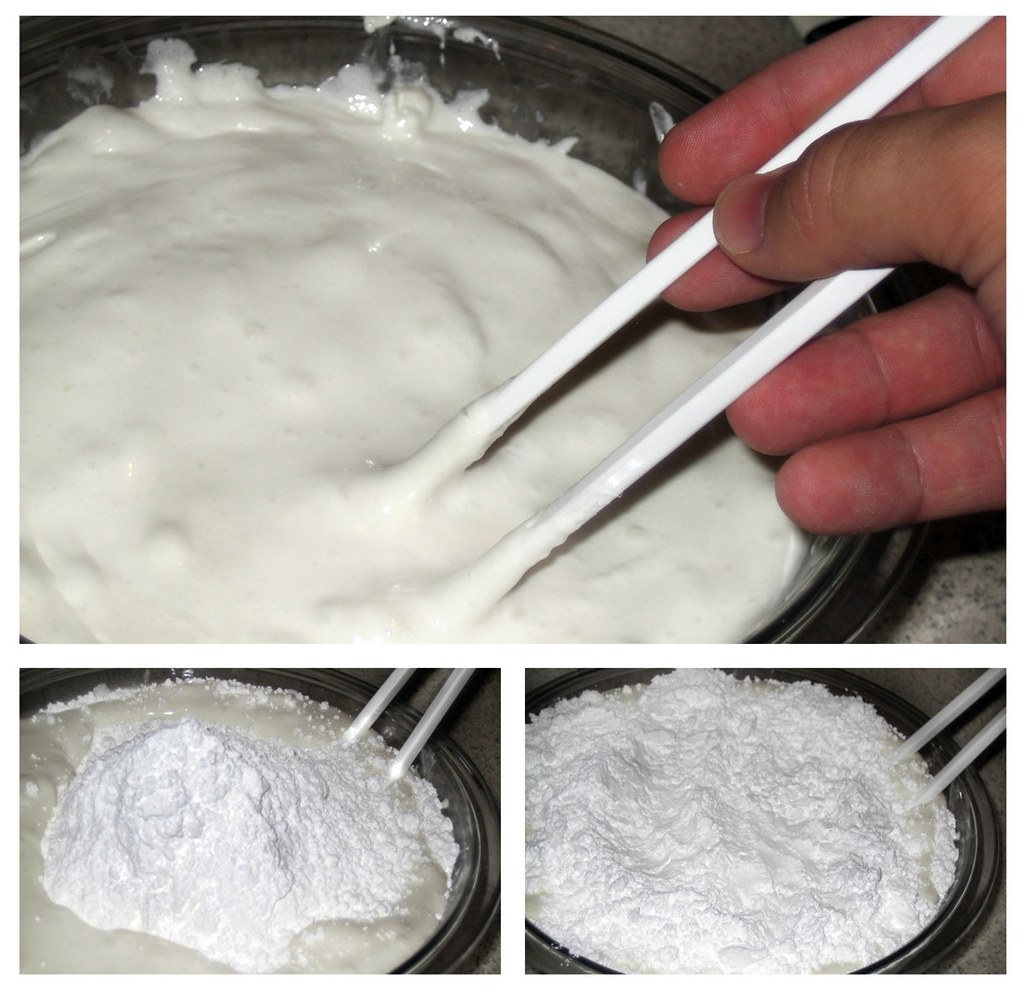
Add 2 tablespoons of water to the marshmallows and melt them in the nuker (what I call the microwave), stirring every 30 seconds until marshmallow mixture is smooth. Be careful not to overcook your marshmallows, or your fondant will be harder to work with later.
Add about 3/4 of the powdered sugar to the marshmallow mixture. Take all jewelry off your hands and then generously grease your hands and the cupboard with Crisco, then pour the marshmallow & powdered sugar mixture on the cupboard. Begin kneading it together. Be careful, because it can be fairly hot right at first.
I used chopsticks to stir the marshmallow; I’m a huge fan of chopsticks and use them often when cooking.
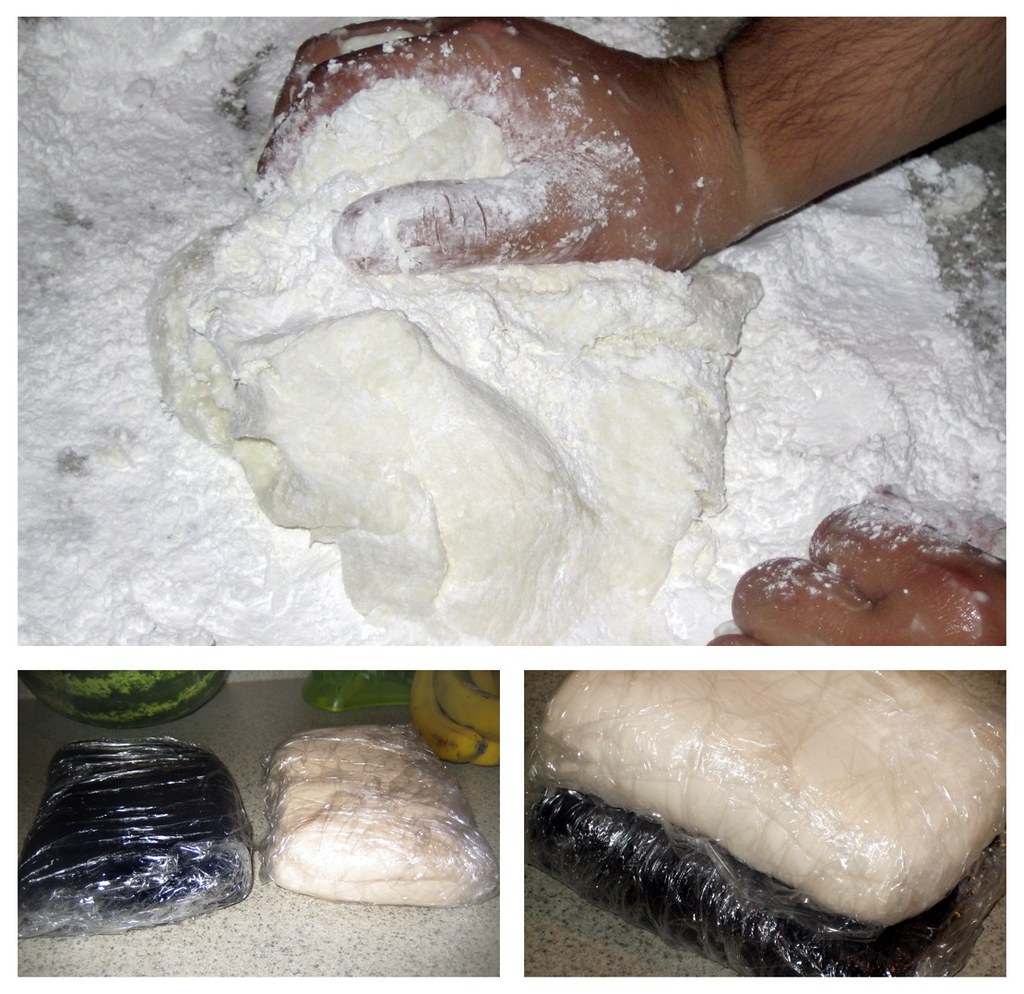
Keep kneading the fondant. At first it’s super sticky (and fun!) so just keep working in the rest of the powdered sugar. If needed, continue to grease your hands and the cupboard with Crisco. You can also add a little bit of water (1 teaspoon at a time) to get the consistency you want. Knead until the fondant has absorbed all the sugar. At this time, you can knead some food coloring in to the fondant (Do this on a pastry sheet so it doesn’t dye your cupboard. Also, wear some cheap throw-away plastic gloves to keep your hands from turning colors.) I used Wilson’s gel food coloring to make the skin tone and black fondants.
I let the colors saturate the fondant overnight before covering my ninja cake. To store it, I rubbed some Crisco over the surface, folded it in half, wrapped it in plastic wrap and then put it in a zip-lock bag in the fridge.
Making the Buttercream Icing
I used another one of Peggy Weaver’s recipes to make the buttercream frosting (icing). I’ve tried a lot of different frosting recipes over the years and this one is one of my favorites.
Ingredients
Makes about 3-1/2 pounds
Method
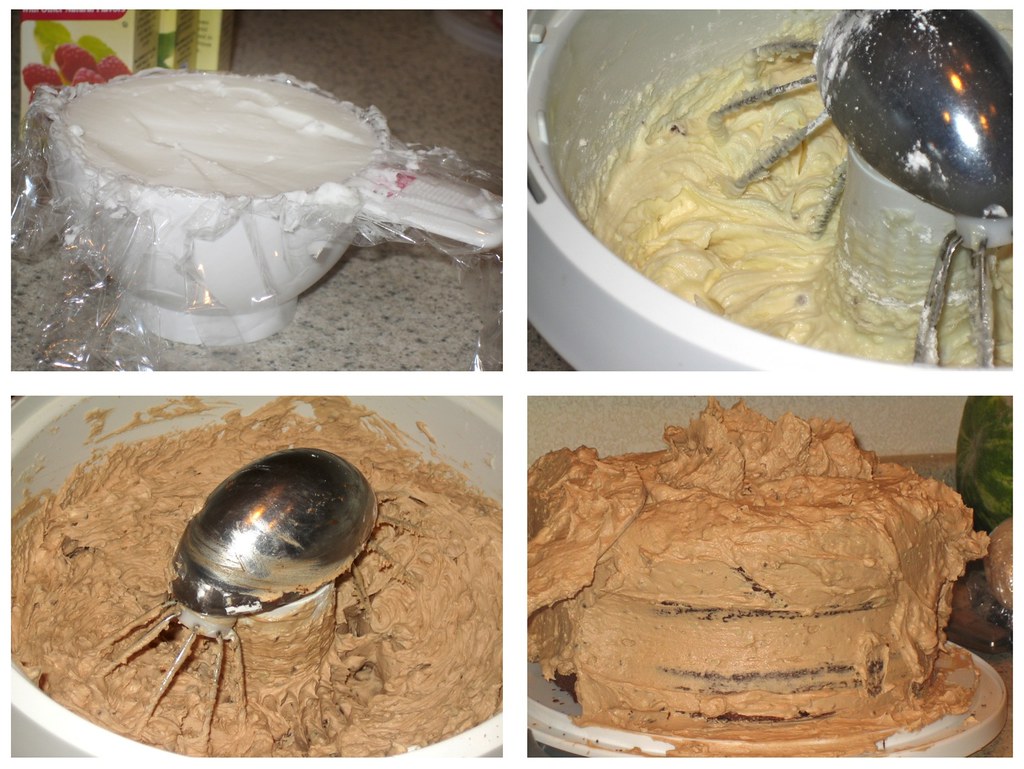
In the mixer, mix butter, shortening*, and salt together for about 5 minutes on low.
Add almond, butter, and vanilla extracts. Mix together well.
Add about 1 pound of powdered sugar and the meringue powder and mix.
Add 1/2 cup of powdered sugar at a time and mix until you get the consistency you want.
Add a little water (or milk), a teaspoon at a time, if necessary to thin the frosting. Blend well on low for several minutes.
Use immediately or cover and refrigerate.
I decided to make my buttercream icing a chocolate raspberry mint flavor, so I added a tablespoon or so of cocoa powder, about 2-1/2 teaspoons of mint extract, 1-1/2 teaspoons raspberry extract, and 1 cup of chopped Andes mints (yum!) It came out an excellent flavor. I added a bit extra mint extract than I normally would have because I wanted the flavor to stand out amidst the chocolate cake and two layers of fondant.
Building the Cake
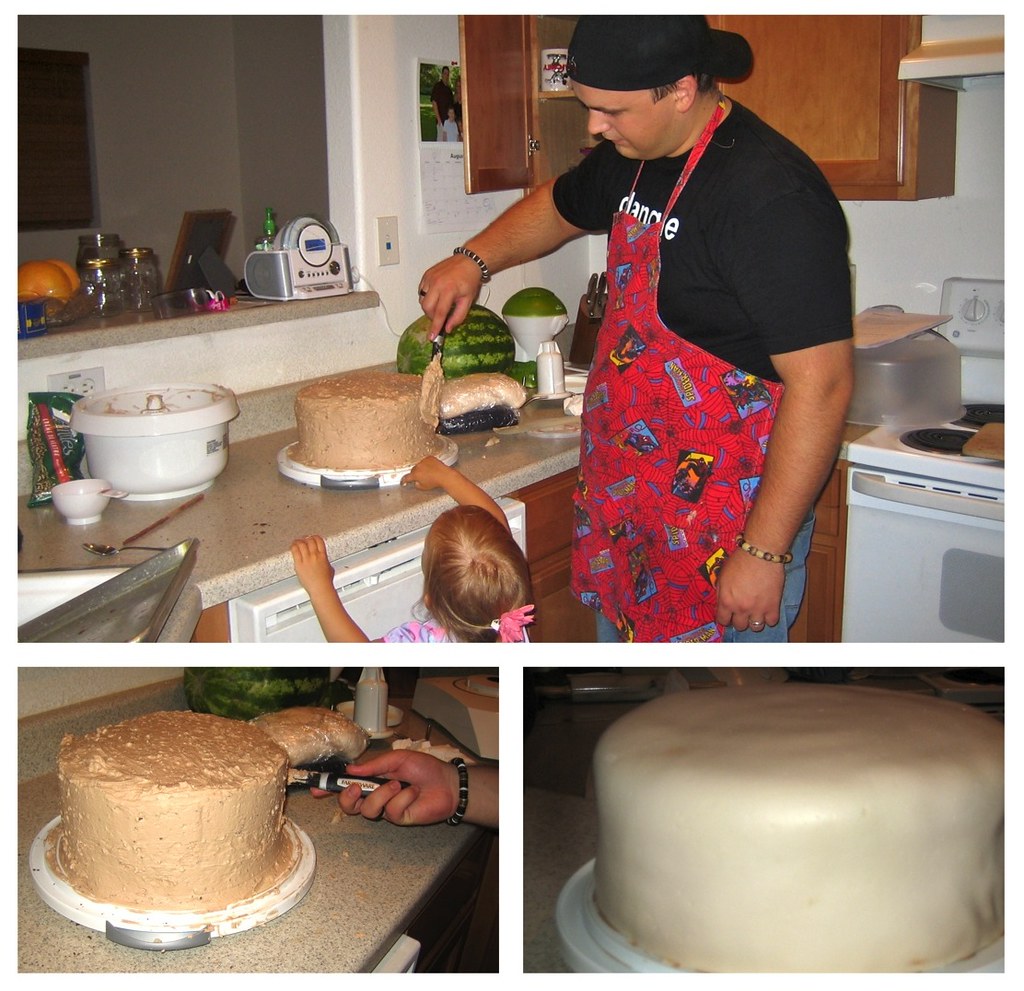
I baked two 10″ diameter round cakes, and allowed them to cool to room temperature. I then cut the tops off so they would be flat, added about 1/4″ buttercream icing on top of one cake and then flipped the other cake over and placed it on top of the other cake and buttercream icing. I figured the bottom of the 2nd cake was guaranteed to be flat. I then spread about a 1/4″ layer of buttercream icing all around the cake. Afterwards, I rolled out my skin-toned fondant to about 1/8″ thick and wrapped it around the double-layered cake.
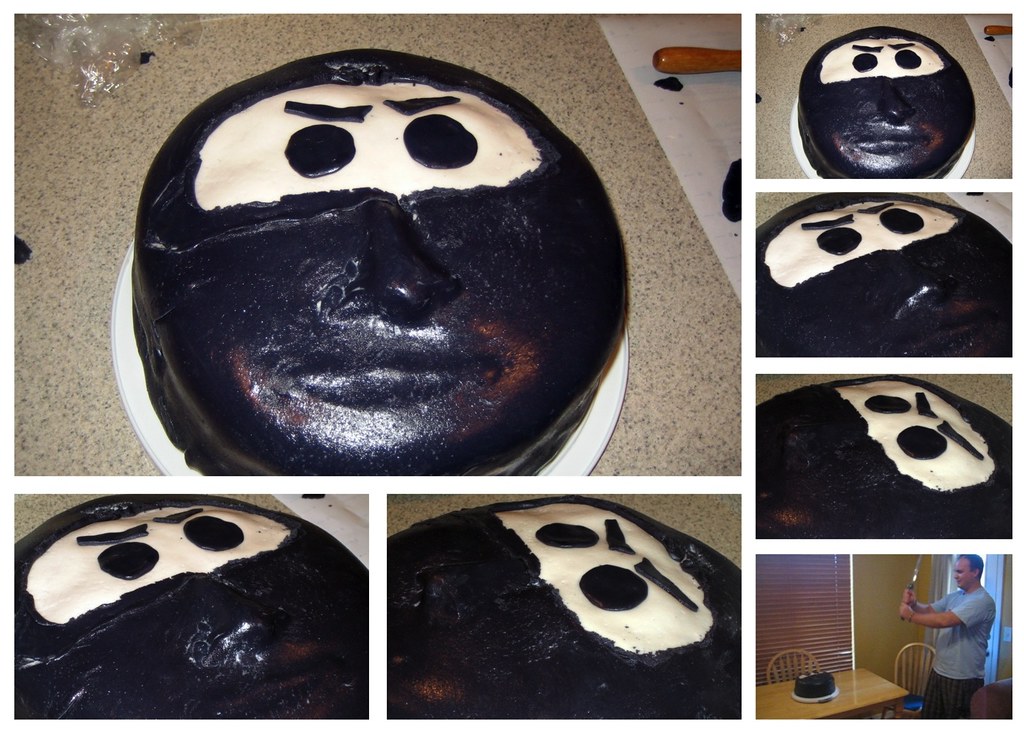
Once the initial fondant layer was on, I sculpted a nose and mouth out of leftover skin fondant. This was fun as I spent another 15 minutes deciding on what style of nose to give my ninja. Once the nose and mouth were attached (using dabbles of water), I rolled out the black fondant and added it over the skin fondant, which I had lightly sprinkled with water so the two fondant layers would weld together. In true ninja fashion, I then styled his face.
What I Learned
I mentioned before that this was my first time ever working with fondant (and also a double-layered cake), so I learned some interesting tricks that will definitely help me out the next time (Oh, yes. There will be a next time.)
1. I had accidentally overcooked the marshmallow I used for the black fondant and from the start of kneading it, it had a different texture than my first batch. I should have started over because it lead to some troubles later on. For example, when I rolled out my black fondant to lay over the cake, it would not hold together very well, even though I had added additional water, etc. to make it more elastic. You probably don’t have to look closely to see that the face mask, nose, and top portion of the cake had some ripping issues. (On the picture collage above, to make myself feel better about the cake, I photoshopped out the rips, ha ha. Those pictures can be seen as the smaller thumbnails to the right of the larger, original picture.)
2. It’s better to use a dense cake made from scratch than a box-mix cake if you’re going to use fondant. The fondant is too heavy for a soft spongy cake like you get from the box mixes. Even though I allowed time for my cakes to ‘settle,’ the weight of the fondant squashed it even more and caused the fondant to ripple.
3. When you’re working with fondant on a big cake for the first time, it’s very helpful to have someone else helping you out. My wife, mom, and daughter helped me with a few different parts (like adding the fondant layers and eating the frosting, ha ha). If you’re building a larger cake, I definitely recommend extra hands. And one last thing, if you’re building a cake for a special event where the cake must be perfect, practice before hand.
And Now for the Fun Part: Cutting the Cake
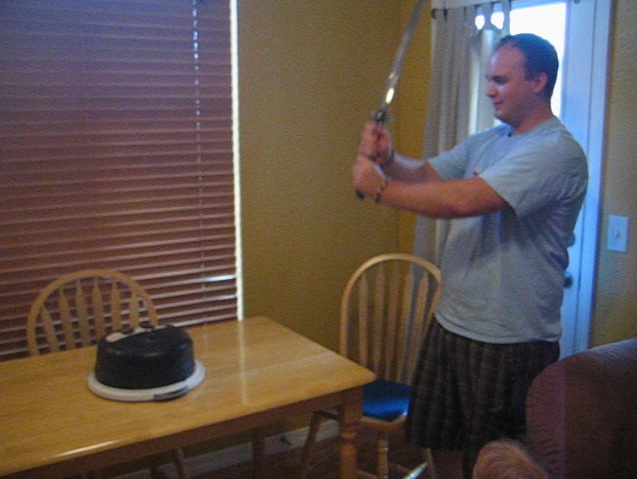
My brother had a brilliant idea and suggested I cut the cake in true ninja style with one of my katanas. Brilliant. Of course I couldn’t pass that up (and thus begins a birthday tradition), and so below, you can see a picture of me with a katana getting ready to assassinate my birthday cake.
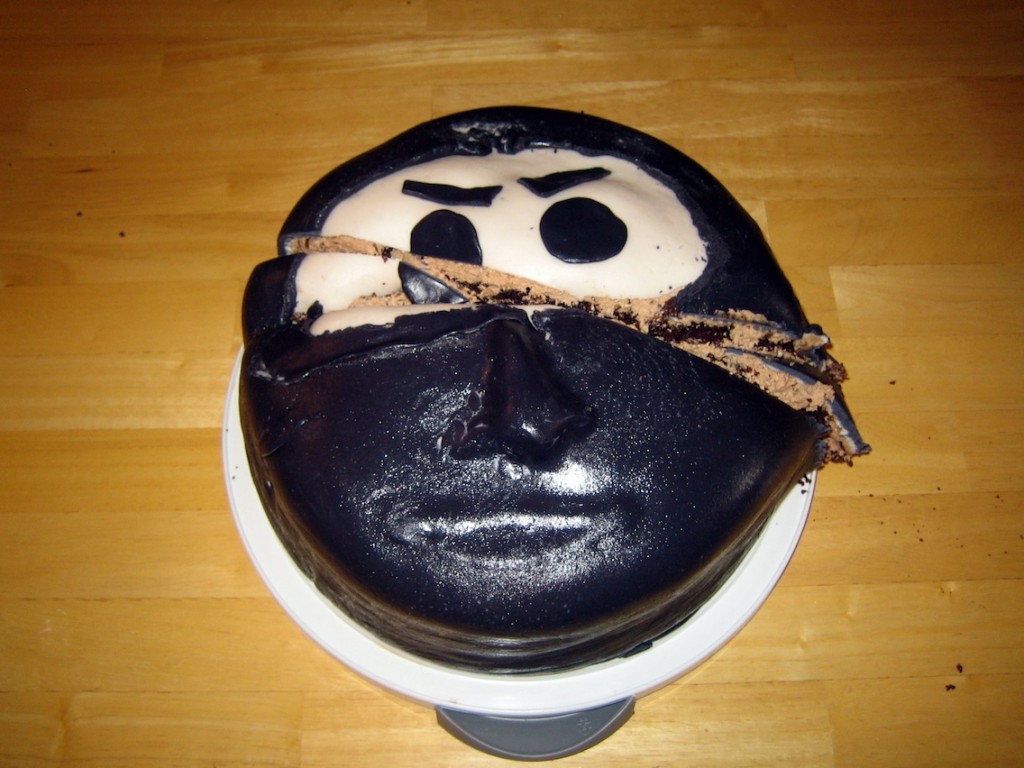
And just in case you’re a nerd like me, here’s the full video with a picture of the aftermath below:
I’d love to know about any creative cake ideas you’ve had or any cakes you’ve built. I’m a rookie cake builder, but this was a lot of fun, and I’m planning on building more. Also, if you have any tips or tricks about working with double-layered cakes or fondant, let your voice be heard in the comments.

I love the sound of the katana hitting the cake…that must have been satisfying. I have always wanted to do that!
Very satisfying, the only hard part was holding back so I didn’t break the cake tray, ha ha.
I heard that black food coloring sometimes makes the fondant a a little bitter tasting. Did you find this true with Wilson’s food coloring?
Hi Tina,
Yep, you heard correctly; it’s true that black food coloring can make the fondant (and other foods) a little bitter tasting, but I found that I could make the fondant black enough without changing the flavor using Wilson’s gel food coloring. I researched online for a while for ways around that and learned that with fondant, if you mix in the food coloring and then let the fondant sit for a day or so in the fridge, the color will deepen so you can get away with using less of it. What I did when I used the Wilson’s food coloring is after adding some, I’d take a little snitch (yum!) of the fondant and when it got to the point that the flavor was beginning to change because of how much black I added, I stopped, wrapped up the fondant, and set it in the fridge for around 24 hours. In the end, I was really surprised with how black it turned out and next time, I’ll probably use even less black food coloring.
looks like a yummy cake…esp after cutting it like that!!!! i suck at making cakes, last one I made turned out like this: http://richncole.blogspot.com/2008/10/its-golden-birthday.html
cool blog BTW love it.