I’m not sure how they’ve done it, but somehow the Girl Scout organization has developed a bunch of extraordinarily delicious cookies–I’m a huge fan of the Thin Mints and Somoas®–and maybe it’s just me, but it seems that you can only buy them once a year. If you miss the opportunity, you’re hosed. I have a really hard time saying no to their cookies and about anybody else who comes around selling brownies, cookies, and treats. When I hear a knock at the door, I’m always afraid it’s going to be an elementary kid with those big puppy dog eyes looking up at me saying, “Hey mister, would you like to buy some cookies?” Ahhh! I’ve resisted the temptation to buy cookies and brownies from kids knocking at my door only once before… or at least I thought about it once. Yeah, that’s it. I’m sure there’s got to be some sort of self-help classes for adults like me who can’t say no to strangers.
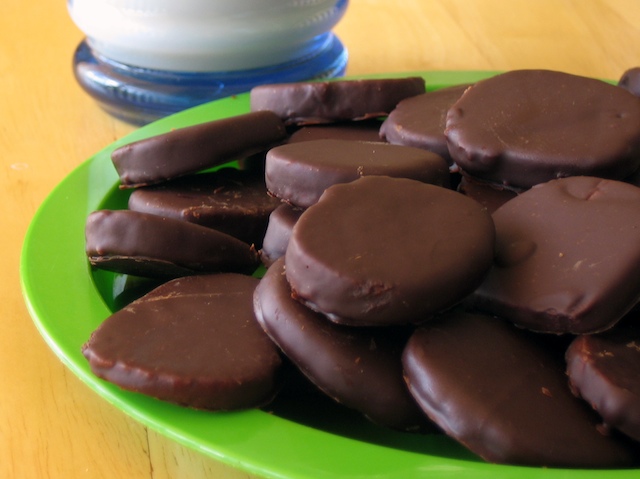
Well for those of you who are Girl Scout Cookie addicts like myself, your once-a-year wait is over. The other day while reading an article at BakingBites.com, I stumbled across a recipe to make homemade Girl Scout Cookie Thin Mints. A few days later around 9:00 p.m. I decided to make the thin mints. I should have read the entire recipe first because they take a while to make and I was up pretty late, but it was worth it. The cookies are a pretty darn good replication of the original Girl Scout Thin Mints.
So, without further adieu, here is the recipe for Homemade Girl Scout Thin Mint Cookies (recipe adapted from BakingBites.com). A printable recipe is available near the end of this post.
Homemade Girl Scout Thin Mint Cookies
Ingredients
The Cookies
The Chocolate Coating
Method
The Cookies
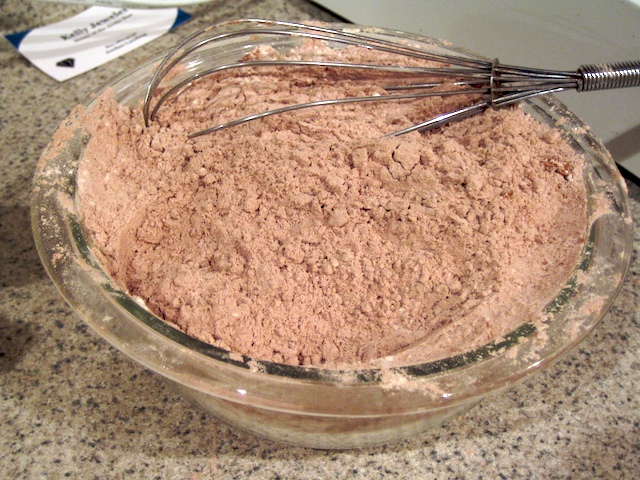
1. In a small bowl, whisk together flour, cornstarch, cocoa powder, and salt.
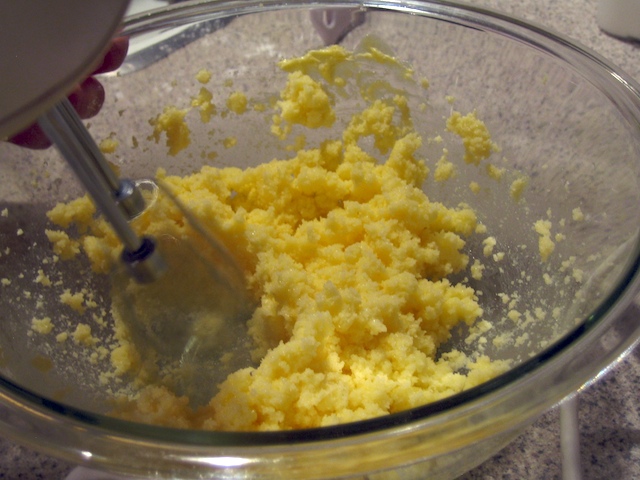
2. In a large bowl, cream together butter and sugar.
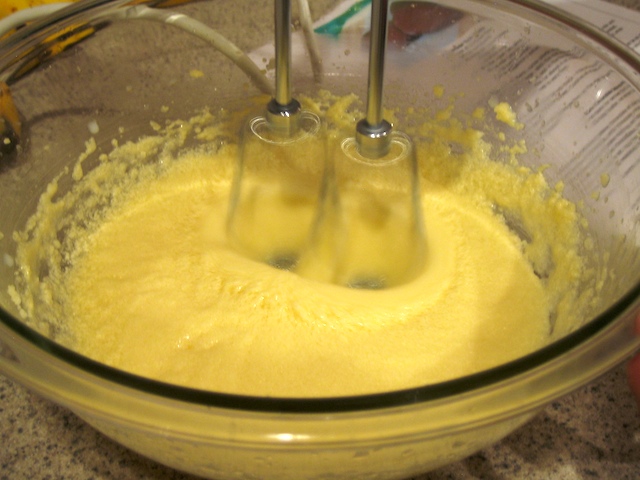
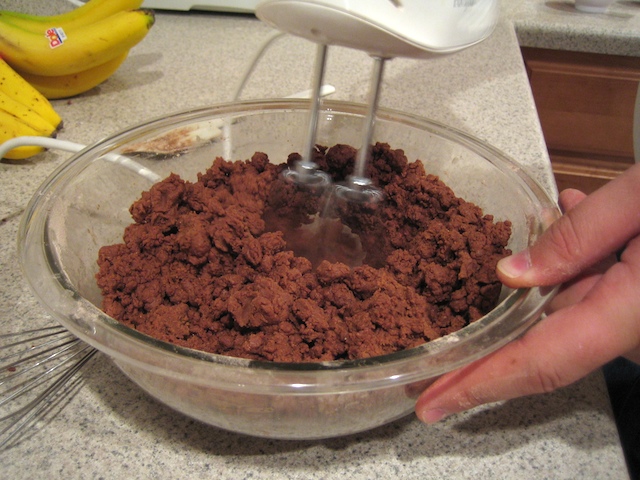
3. With the mixer on low speed, add in the milk and the extracts. Mixture will look curdled.
4. Gradually add in the flour mixture until fully incorporated.
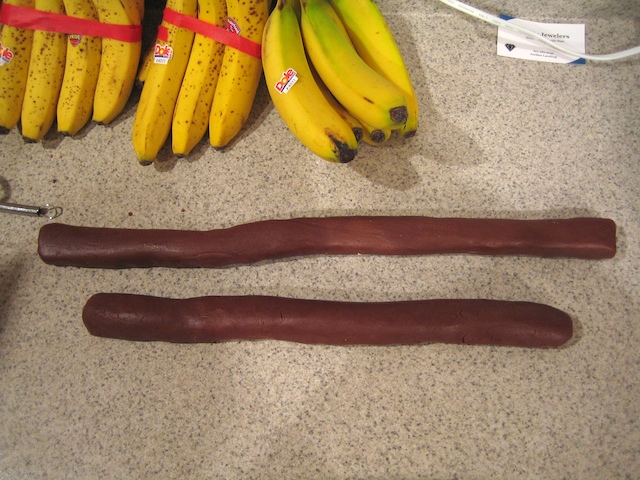
5. Shape dough into two logs, about 1-1/2 inches in diameter, wrap in plastic wrap and freeze for 1-2 hours, until dough is very firm.** (At this point, laugh out loud if you need to…)
6. Preheat oven to 375°F.
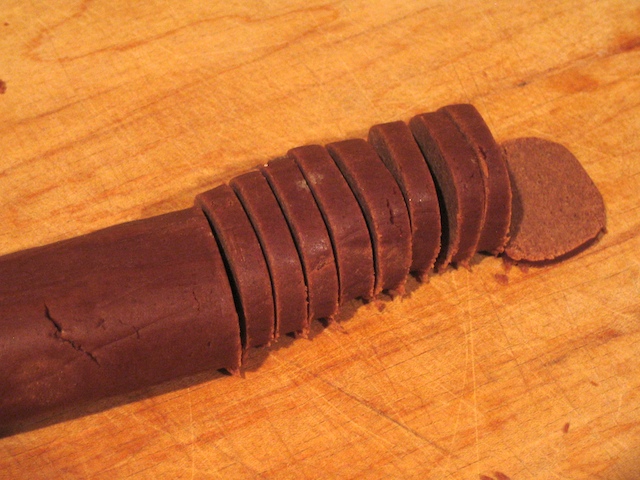
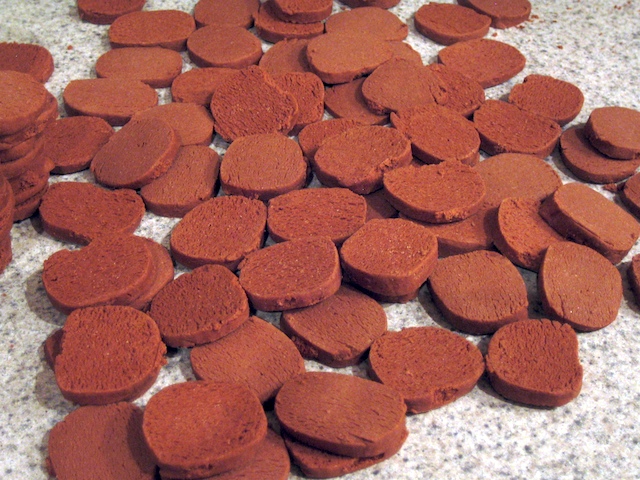
7. Slice dough into rounds not more than 1/4″ thick (if they’re too thick, they will not be as crisp) and place on a parchment-lined (or lightly greased) baking sheet. The cookies will not spread very much, so you can put them quite close together.
8. Bake for 13-15 minutes, until cookies are firm at the edges. Cool the cookies completely on a wire rack before dipping in chocolate.
The Chocolate Coating
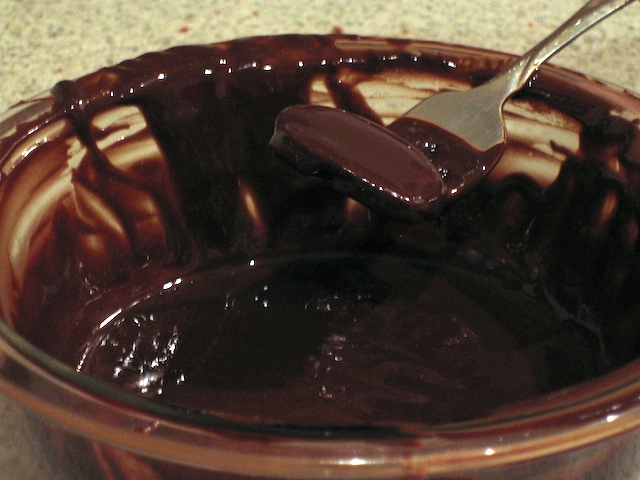
1. In a microwave safe bowl, combine chocolate and butter. Melt in microwave on high power, stirring every 30-45 seconds until chocolate is smooth. The chocolate should have a thinner consistency (like chocolate syrup) for a thin coating.
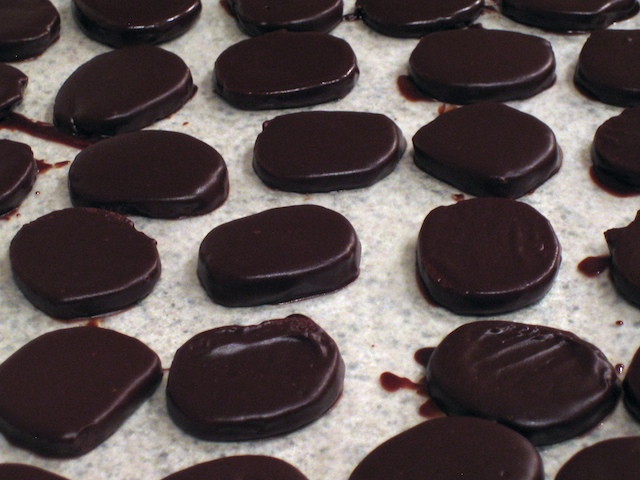
2. Dip each cookie in melted chocolate, turn with a fork to coat, then transfer to a piece of wax paper. Allow the chocolate covered cookies to set up for at least 30 minutes, or until chocolate is cool and firm.
3. Reheat chocolate as needed to keep it smooth and easy to dip into.
4. And the easiest and best part, once the chocolate has completely cooled and around the cookie, gobble them up!
Download
“Girl Scout Thin Mint Cookies” (PDF, 1 page, 136 kb)
There are a number of other homemade Girl Scout Thin Mint Cookie recipes out there, and I know I’ll have to see how they compare side-by-side with this recipe and the original Thin Mints.
Sorry… couldn’t resist.


It’s a shame that no one commented on through recipe yet. I absolutely loved it.
I did notice, however that I had a tricky time getting the cookie rolls just the right thickness. This may very well be user error, but the few times I’ve made this, the thin mint are a bit more amorphous bobby. Still delicious, though.
Did you figure this out on your own? How did you go through the trial/error process?
It’s been a while since I’ve made this one. I recall having the same tricky time in getting the thickness just right (my first couple batches I also overcooked). I’m tempted to have another go at it.
As far as the trial/error goes, I start out with a basic shortbread-esque type dough and make changes from that. I’ve learned quite a bit more about doughs in the past few years though, and have some ideas to improve this recipe.
Why Use cornstarch?
Cornstarch will make the crumb a little less likely to fall apart.