General Mills always seems to be up to something fun, and earlier this month they invited a few bloggers to create a fun holiday-themed cookie recipe using a Pillsbury cookie dough roll. With the chance of the recipe being on Pillsbury.com (Update: This recipe and the other bloggers’ submissions are now on Pillsbury.com. Follow the link to check out all the delicious goodness!), I couldn’t resist and decided to participate. We could choose to use any of the following Pillsbury cookie doughs: sugar, gingerbread, chocolate chip, peanut butter, or peppermint.
Being the sugar cookie addict that I am, I naturally opted to use the sugar cookie dough. Sugar cookies have long been a holiday tradition at my house, one that I hope my kids continue and pass down to their own families someday.
As part of our cookie submission, General Mills also asked us to make it kid friendly so that moms (or dads!) can make it at home with their kids. For those of you who read my blog regularly, you already know that I love cooking with my little girls. They’re especially fond of any recipe that lets them play with dough.
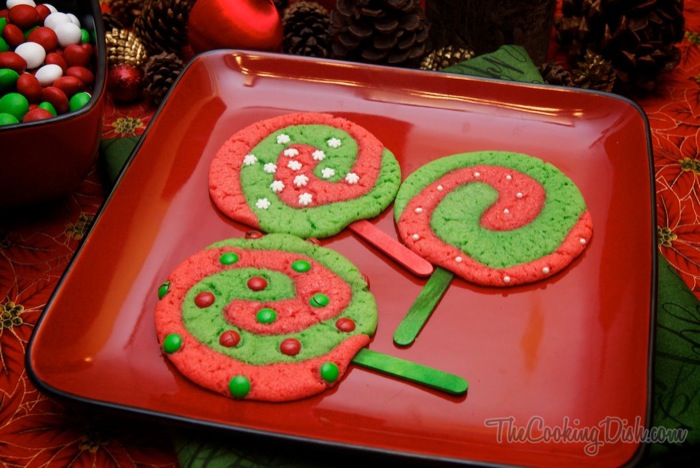
This particular Christmas cookie idea combines two of my children’s favorite things. The first is making dough snakes. My kids jump at the chance to make them, and believe me, we can play that game for hours. The second is suckers. Their love for suckers nearly surpasses my own for sugar cookies.
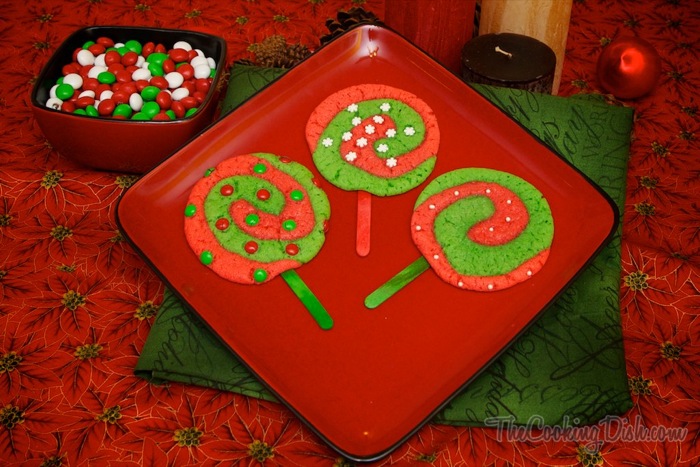
This is a fun Christmas cookie recipe for kids because it’s interactive. They get to roll the dough into balls, then snakes (or ropes, for the less adventurous), and then twirl them around into a circle. In the end, just like a sucker, they get to eat it off a stick! To be fair, my kids didn’t actually decorate the cookies you see in the pictures. They did however squish, roll, and twirl the dough. After the pictures we made two additional batches where they decorated the cookies to their heart’s content. Each cookie was a party, loaded with candies and sprinkles. (When they’re having so much fun, how do you say, “no more sprinkles?”) And now, my friends, the recipe.
Christmas Lollipop Cookies
Prep Time: 1 hour
Start to Finish: 1 hour 15 minutes
Yields: 12 large lollipop cookies
Ingredients
Quick Read Method
(An extended method with pictures is available below.)
- Preheat oven to 350°F. In a large bowl, break up cookie dough and mix in flour until fully incorporated. Divide dough in equal halves. Knead the green food coloring into one of the halves and the red food coloring into the other half until fully blended and dough reaches a moderate to deep hue. Separately wrap dough in plastic wrap and freeze for 10 minutes.
- Divide each half into 12 equal parts and roll each part into a 1″ ball to get 24 balls (12 green and 12 red). Roll each ball into a 5″ rope. Overlap the ends of a green and red rope by 1/4″ and proceed to twirl ropes counter-clockwise around the central point. Once the complete circle is formed, gently flatten red and green ends into the circle to prevent edges from forming where the rope ends.
- Place circles 2″ apart on top of wooden craft sticks on an ungreased cookie sheet. Decorate the cookie lollipops with candies and sprinkles.
- Bake for 10-12 minutes. Cool on cookie sheet for 3 minutes and on cooling rack for another 5. Store in an air-tight container or large sealable storage bag.
A couple of tips…
When coloring your dough, use a large sealable plastic bag to keep your fingers from turning colors and to easily move the dough back and forth from the freezer if needed.
If your dough becomes too warm and sticky, simply place it in a sealable bag in the freezer for a few minutes. Chilled sugar cookie dough is much easier to work with.
Extended Method with Pictures
Note: This recipe is actually really simple in just a few easy steps (see above), but as many of us food bloggers like to do, we include a picture for every blink.
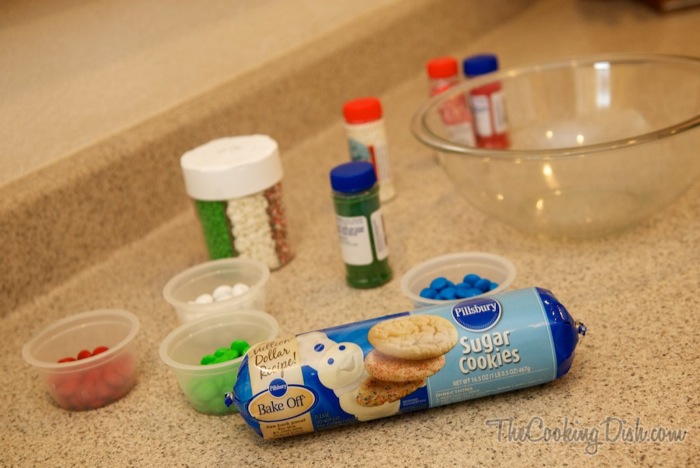
First things first, gather your ingredients and pre-heat your oven to 350°F.
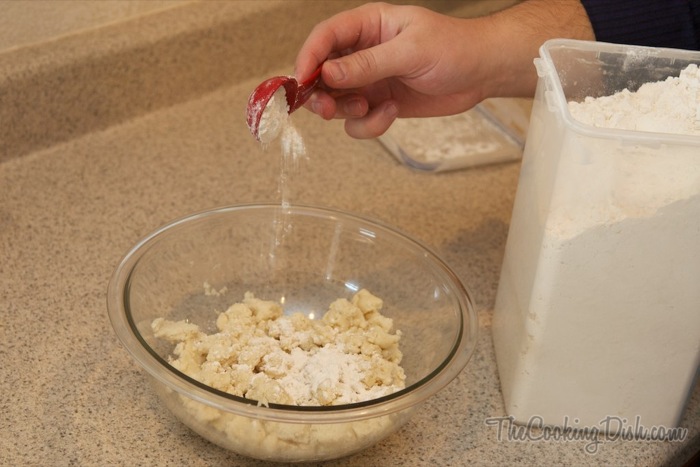
Then break your Pillsbury cookie dough into a bowl and mix in two generous tablespoons of flour. You can actually mix more in than that if you want, but after experimenting, I found that two tablespoons is the minimal needed for making good dough snakes.
Divide the dough into two equal halves.
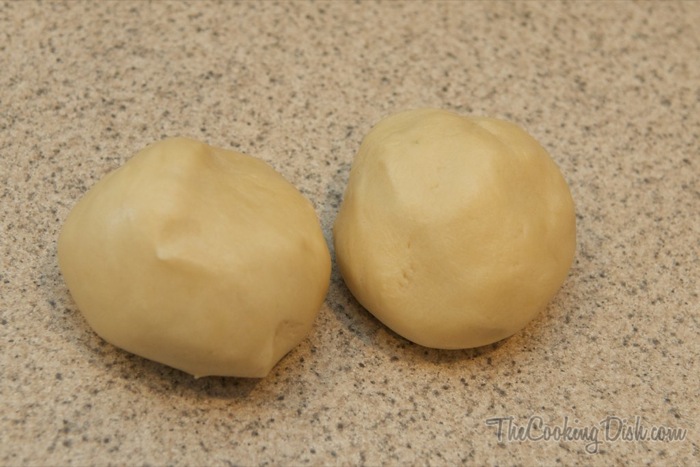
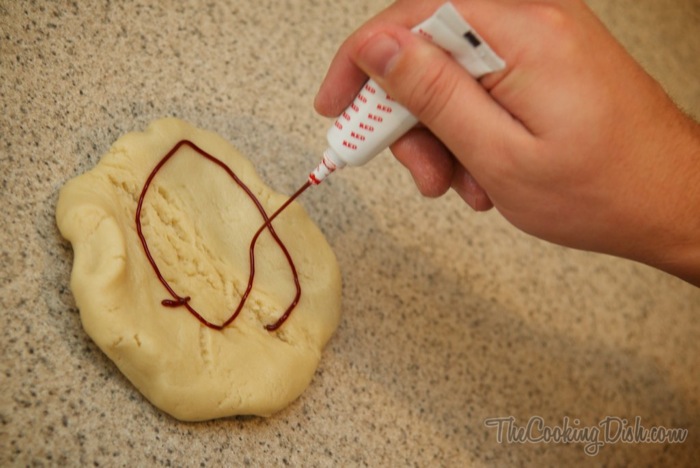
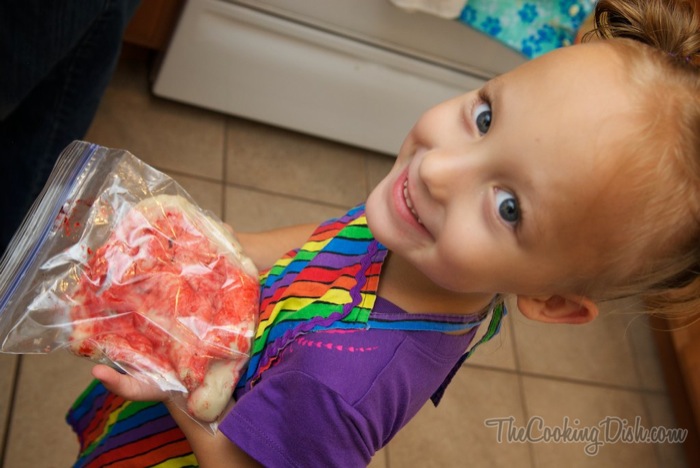
Add green food color to one half and red food color to the other and mix it in until its completely blended. The first time I experimented with this recipe, I wound up with green and red fingers. If having colored fingers bothers you, simply mix the dough in a large sealable freezer bag. I used the 1 qt. size with great results. Maggie helped me mix the dough. She’s a great little helper.
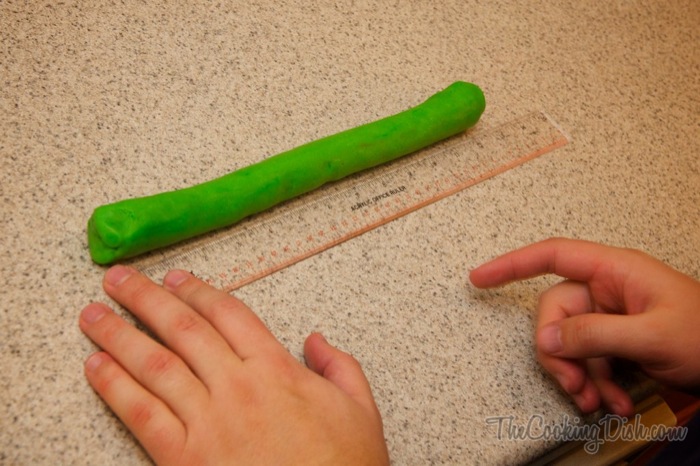
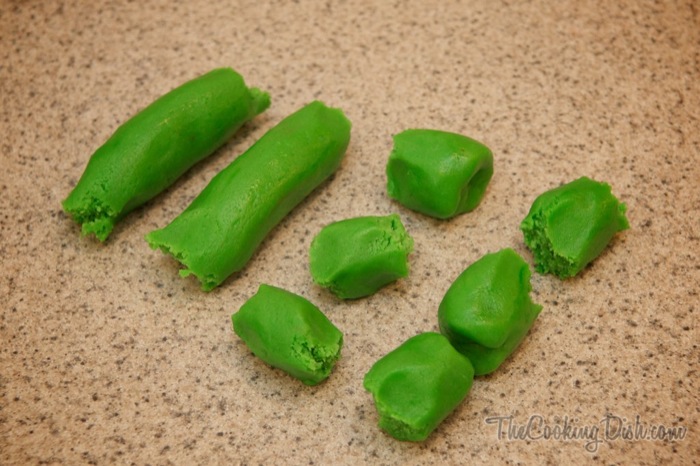
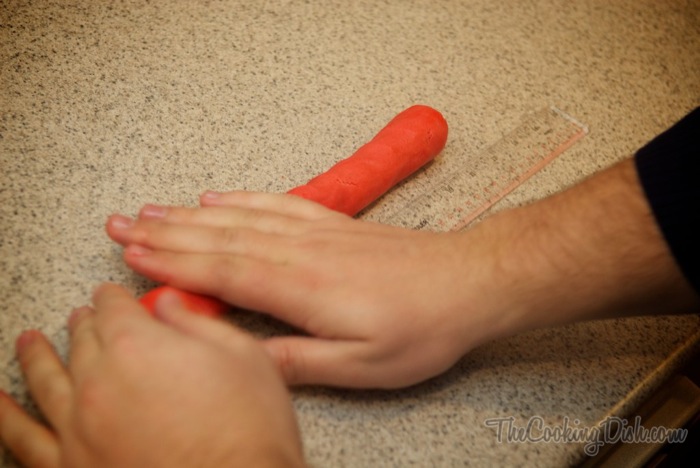
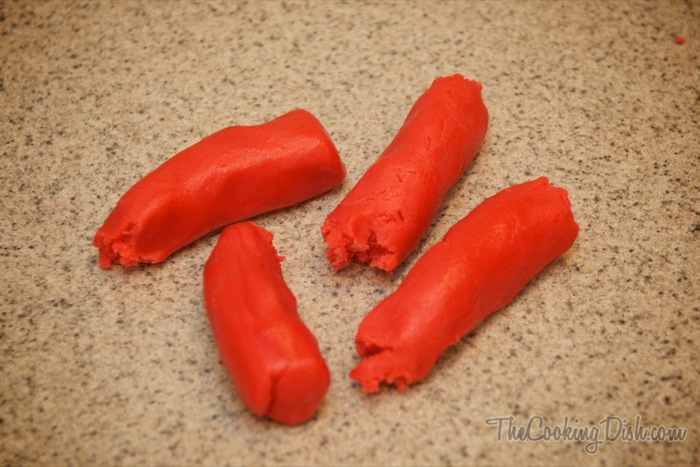
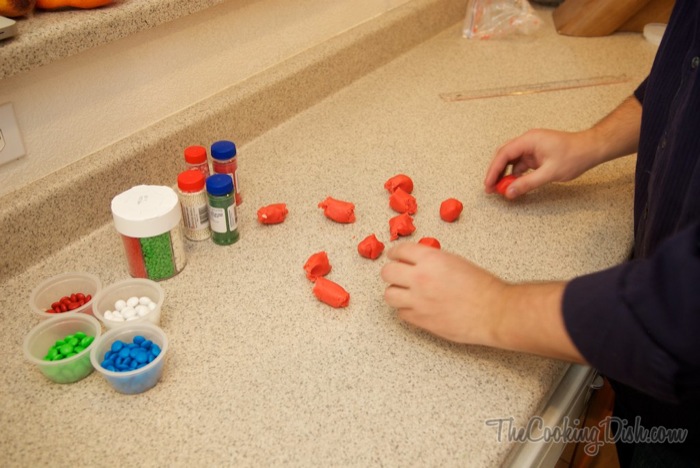
Roll each half into a 12″ snake (about 1″ diameter) and divide it into 12 equal sections. Make it easier on yourself and divide it in half first, then divide those halves in half. Then divide those fourths into thirds. (Whoa, did you catch all that?) You should get 12 balls from each half for a total of 24 balls.
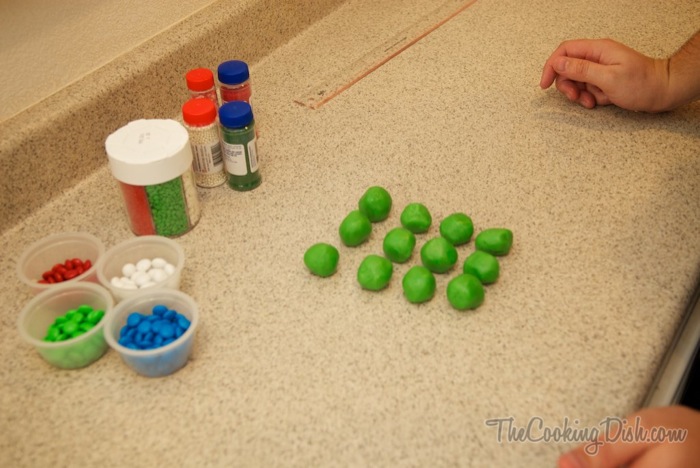
Roll each section into 1″ diameter dough balls. I like to place all the dough balls close together for a quick equality glance.
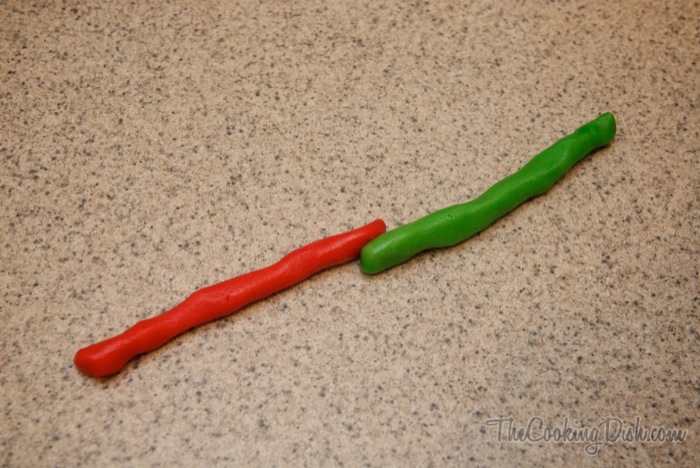
Roll each ball into a 5″ snake. Once again, my girls love to help. To make it easier for them, I actually tape a 5″ piece of masking tape to the counter for them to measure against.
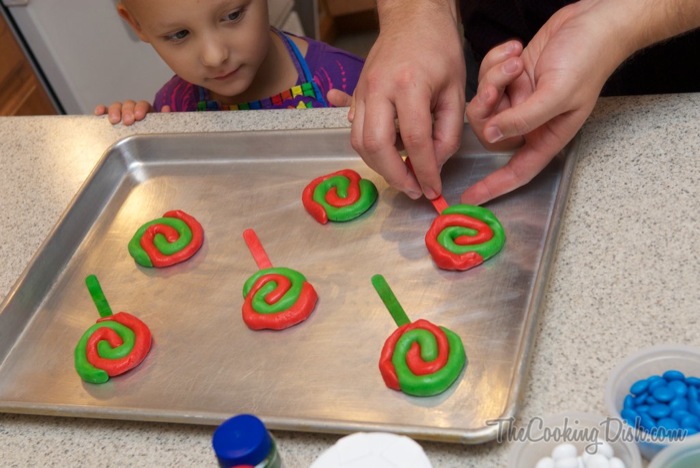
Place the end of a green snake next to the end of a red snake, and then twist together as shown in the pictures to make a pretty Christmas twirl. Flatten the end’s edges against the main body of the twirl to keep the cookie circular when baking.
This is what it looks like when you’re done snake-ifying it.
Place the twirls on an ungreased cookie sheet and put some colored craft sticks underneath each one to make them into a lollipop cookie.
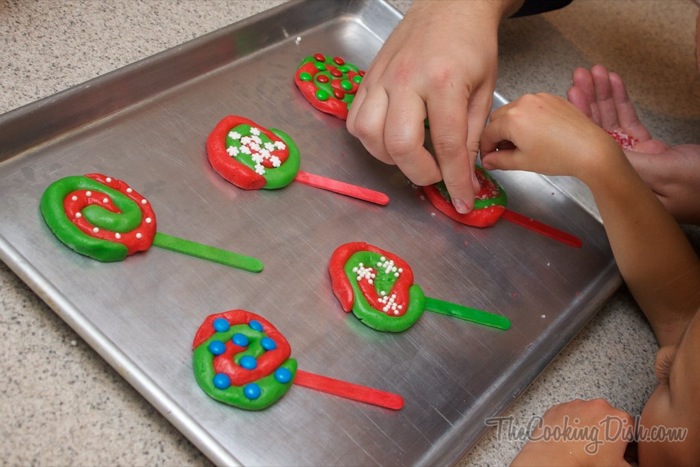
Add the decorations. Then bake for 10-12 minutes.
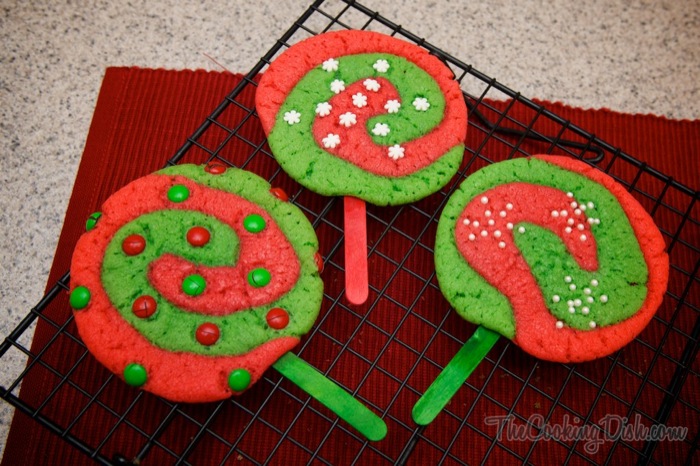
Pull them out of the oven and let them cool for a couple minutes in the pan, then a few more on the cooling rack.
Put them on a plate, and then…
… GOBBLE THEM UP!
A special thanks to Sergio of Diez Photography who came over and took these cookie pictures for me. He saved me loads of hand washing that I typically do between process shots, and took some high-quality photos that I just can’t get with my 7-year-old point and shoot camera.
Download Recipe
This recipe can be printed at Pillsbury.com: Click Here.
Disclosure: Although I am being compensated for this post, all the words, ideas, thoughts, goofs, yaddi yadda, expressed here are mine.











These cookies are so awesome! By far the most colorful of the Pillsbury bloggers, and I think they’re the most creative! Way to go. This is a great post and the cookies look like so much fun to make with kids. What adorable little kiddos! 🙂
Thanks! I appreciate the compliment. 🙂 It looks like there were also some other yummy submissions that I want to try out.
Chris they turned out amazing!!!! The photos, everything. You put an effort into this, and it shows far above the others!! Way to go! My girls absolutely loved these!!
Thanks Holly :). I’m glad your kids liked them!